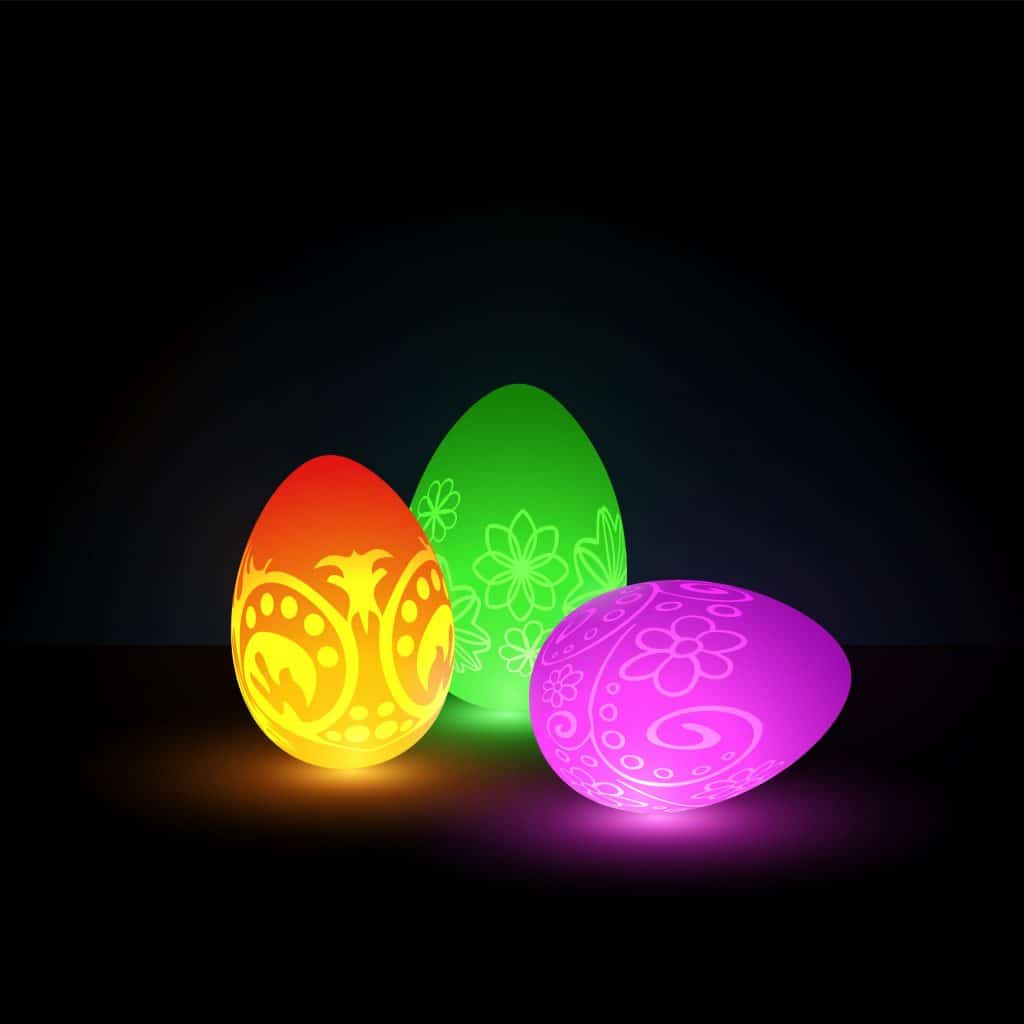
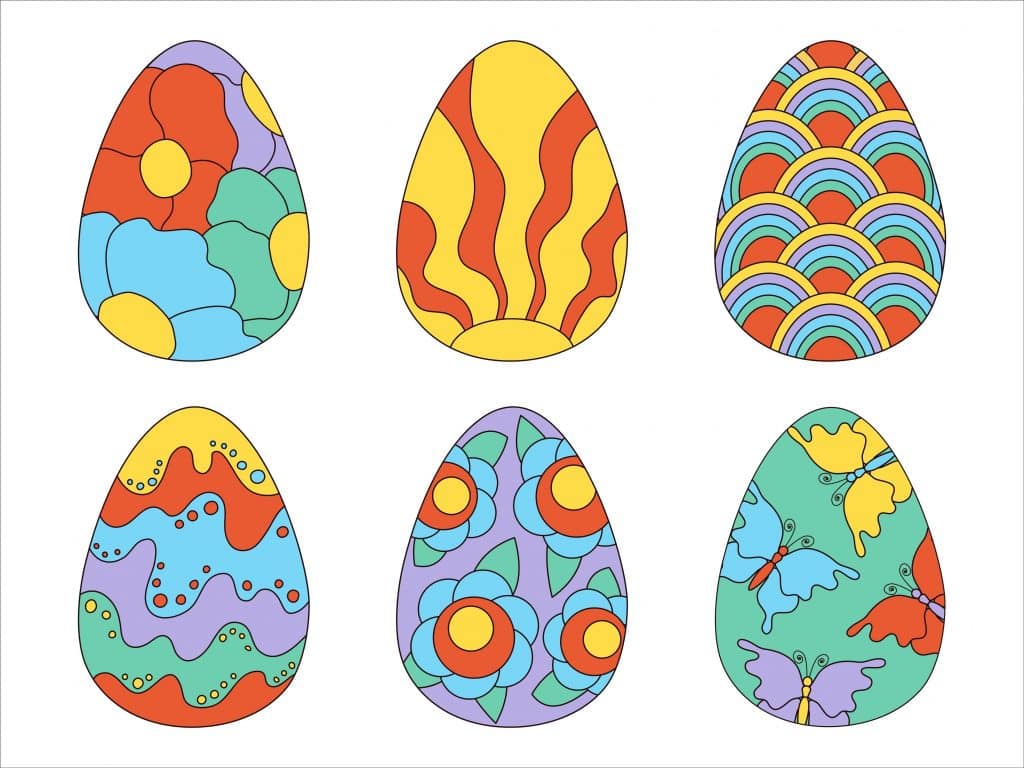
Sure, everyone makes Easter eggs. Most are simply dyed one color, while a choice few have some interesting designs painted on. This year, as psychedelics gain popularity, let’s knock it up a notch. Let’s totally trip out…with our eggs. Read on for a DIY guide explaining how to make psychedelic Easter eggs of different kinds. It’s easy, I promise. And the results are out-of-this-world!
Easter is already pretty trippy
Even without psychedelic Easter eggs, the holiday is already pretty trippy. If we go to the bible, the story is about a guy getting killed (Jesus), and then rising from the grave. Easter is therefore Resurrection Day, and geared toward the idea of coming back from the dead. I guarantee if you ever see a scene like that in life, you’re going to question what drugs you ingested that day. And that’s the standard story. Jesus was crucified, and three days after burial, he rose from the dead. Pretty trippy.
Of course, throughout history, we managed to make it more trippy, even if that wasn’t the ultimate goal. Between the original story and today, there was the introduction of the egg-laying Easter bunny. Yup, a bunny (you know, hop, hop), which lays eggs (you know, those round things bunnies aren’t known to lay). And this egg-laying rabbit-like creature, is now the symbol of the holiday. Despite the fact that never once has a bunny laid an egg.
How did this weird idea permeate the holiday? There isn’t a direct answer to that part. Some connections get lost in history, and we’re left with just a follow-up story. How it initially happened is sketchy, but its first appearance in America was the result of German immigrants in the 1700’s who brought the tradition to the New World, under the name “Osterhase” or “Oschter Haws.” An egg-laying hare that – like Santa Clause – rewarded children for good behavior, this time with colorful eggs. It was tradition for children to build nests for the bunnies. Sometimes the kids left out carrots too, just in case the bunnies were hungry.
Thanks for joining. You can check out the Cannadelics Weekly Newsletter for direct updates; and to get great promotional offers on swag like weed flower, vapes & smoking equipment, edibles, cannabinoids (including HHC), amanita mushroom products, and tons more stuff. Come get what you need to feel good!
The two stories (Easter and Christmas) show a theme. Not one related to the religious aspects of a holiday, either, but instead to keeping kids in line. For Christmas kids are told they’ll only get presents if they’re good, with Santa keeping a list to ensure this, and threatening a lump of coal for the bad children. On Easter, only the well-behave kids received eggs from the Easter bunny. In both cases, children are (or were) taught to revere this figure and leave out gifts (cookies for Santa, carrots for the Easter bunny). Holiday time is chaotic; these stories serve to promote good behavior.
Egg-painting is a different tradition; and slightly less confusing in terms of attachment to the original story. Eggs represent new life, and therefore, resurrection. Just like the egg is the beginning of life, Jesus rose from death into a new existence. Why we decorate them? Harder to say, but the tradition goes back to the 13th century. The best explanation is that eggs were considered forbidden during lent; and decorated in preparation for eating them on Easter.
How exactly we ended up with these specific traditions isn’t known. However, despite how they came to be, we’re left with some interesting visuals. Resurrection from the dead, egg-laying bunnies, and brightly painted eggs. Maybe it’s not meant to be trippy, but that’s what we’re left with in the end.
DIY guide: psychedelic Easter eggs
This year, make your eggs as trippy as the holiday. With the following simple instructions, you can create your very own, very psychedelic Easter eggs. And you know what? It’s pretty easy to do. Below are very basic instructions, that only involve one egg dying kit that uses vinegar and water. You’ll need the vinegar, water, and some margarine as well. Then follow these directions:
1 – There are instructions with the egg-dying kit. And you’ll follow them most of the way, but not completely. A standard kit usually comes with dissolvable dye tablets.
- Drop the tablet in 3 tablespoons of vinegar (in something like a mug), until its dissolved.
- Then add in ½ cup hot water to each mug. The water must be hot, not cold.
- For each color, then add in 1-2 teaspoons melted margarine.
2 – That’s all the prep work necessary. Now, you dunk the eggs in a color. The margarine in the dye will automatically give you crazy, psychedelic, swirling patterns.
3 – Wipe off any excess oil from the eggs, and you’re left with super cool, psychedelic Easter eggs.

DIY guide: glow-in-the-dark psychedelic Easter eggs
Want to knock it up a notch? Swirling designs are definitely trippy, but what if you could make your Easter eggs glow in the dark? This Easter, you can surprise everyone with glow-in-the-dark psychedelic Easter eggs. You’ve got a few options, follow the instructions below:
1 – Glow sticks and plastic eggs – This method doesn’t use real eggs, but it sure brightens up an egg hunt. And it’s probably the easiest to do. Just buy some glow sticks, and insert them into the plastic eggs of different colors. Voila! You’ve got glowing Easter eggs! Then spread them around for decoration, or hide them for a hunt.
2 – Glow-in-the-dark spray paint – This method works with regular eggs (hard-boiled) or plastic eggs. It requires glow-in-the dark spray paint. Just lay the eggs on newspaper, or an old shirt you don’t mind getting dirty. Spray with the paint. If using plastic, separate the pieces first to ensure they don’t stick together with the paint. And if putting candy in the plastic eggs, best to have the candy wrapped so the paint cannot get on it. Make sure the eggs get a lot of light and really soak it up; then watch them glow in the dark!
3 – Black light eggs – This method is much like above and is possible with both real hard-boiled eggs or plastic eggs. You’ll paint the eggs with the black light paint, just like with the glow-in-the-dark paint. Then you just need to shine a black light in that direction. That last part is wildly important, though. So remember, if you want to do this method, you definitely need the black lights.
4 – Microwave glow eggs – This method doesn’t always work, but is fun to try. It should work about 1/3 of the time. Use raw eggs, and soak them in dye for five minutes. Make sure they’re all covered. Then allow them to dry on a paper towel. Once dry, put the eggs on a microwave safe plate, and into the microwave. Microwave for 10 seconds at medium. Then take them out, lay them out, and turn off the lights. Some will glow. As stated, it doesn’t work all the time. If you don’t get it right the first time, try again with new eggs.
DIY guide: tie-dyed psychedelic Easter eggs
What do we associate with psychedelics? Tie-dye! This year, you can have the most psychedelic Easter eggs by adding in some cool tie-dye patterns. There are a couple different methods that both lead to pretty awesome tie-dye results. Follow the instructions before.

1 – Tie-dyed eggs – This method is like the regular old-school dying method, but with a psychedelic twist – tie-dying. Just wrap rubber bands around the egg in funky patterns before dying. You can also use white crayon to make patterns, as that will repel the paint in the areas where its used. You can use different colors by placing the egg in a shallow bowl of dye so only part is submerged. Then let that part dry, and do another part with another color. When the whole thing is painted and dried, take off the rubber bands for perfectly tie-died psychedelic Easter eggs.
2 – Alternate tie-dye method. There is another way to tie-dye your Easter eggs. You can follow these instructions. You’ll need hard-boiled eggs, food coloring, vinegar, and water. Use a spray bottle to wet the paper towels with equal parts water and vinegar. Wrap the eggs in the sprayed paper towels, with a rubber band to tie off one end, and hold the paper towel in place around the egg.
Then apply food coloring to the paper towel in whatever pattern you desire. You can use multiple colors, and overlap. Don’t expect what you see on the paper towel to be how the egg turns out; it’ll be much more clear. When done with the color, spray the eggs with more of the vinegar and water solution, which makes the colors blend. Make sure not to soak the paper towel, jut make it moist! You can soak up extra moisture with dry paper towels. When done, leave the towel-covered eggs for an hour to dry (or longer for more vivid colors). Then take off the paper towels for beautifully tie-dyed eggs.
Conclusion
There you have it! Whether you’re looking to have a trippy egg hunt, or want some cool decorations at your party; these DIY instructions will ensure your psychedelic eggs, are all the talk of the holiday season. Happy holiday, and enjoy!
Welcome readers! So glad you made it to Cannadelics.com; an independent news publication that gets down and dirty within the worlds of cannabis and hallucinogens. Come our way whenever possible to keep updated on important stories; and subscribe to the Cannadelics Weekly Newsletter, so you’re always first to get the news.
The post DIY Psychedelic Easter Eggs for Tripped-Out Holiday appeared first on Cannadelics.
Via https://cannadelics.com/2023/04/06/diy-psychedelic-easter-eggs-for-tripped-out-holiday/
source https://rosalinaklerkx.weebly.com/blog/diy-psychedelic-easter-eggs-for-tripped-out-holiday
No comments:
Post a Comment